Zip Setup Guide
Prerequisites
- An active Zip account with API access.
Note: If you do not have API access in your Zip account, reach out to Zip Support Team to request API access
Setup Guide
Step 1: Obtain API Key from Zip
- Sign in to your Zip account.
- Click the settings icon in the top right corner, and choose Company Settings.
- On the navigation menu, go to Setup -> API.
- Go to the API Keys tab.
- Click + Create API Key and select Restricted.
- Enter a descriptive name like
Matia-Integration. - In the drop-down menu, select Read Only for every type of record you want to sync and click Create.
- Save the API Token - you will need it to configure your connection.
Step 2: Find your Zip Environment
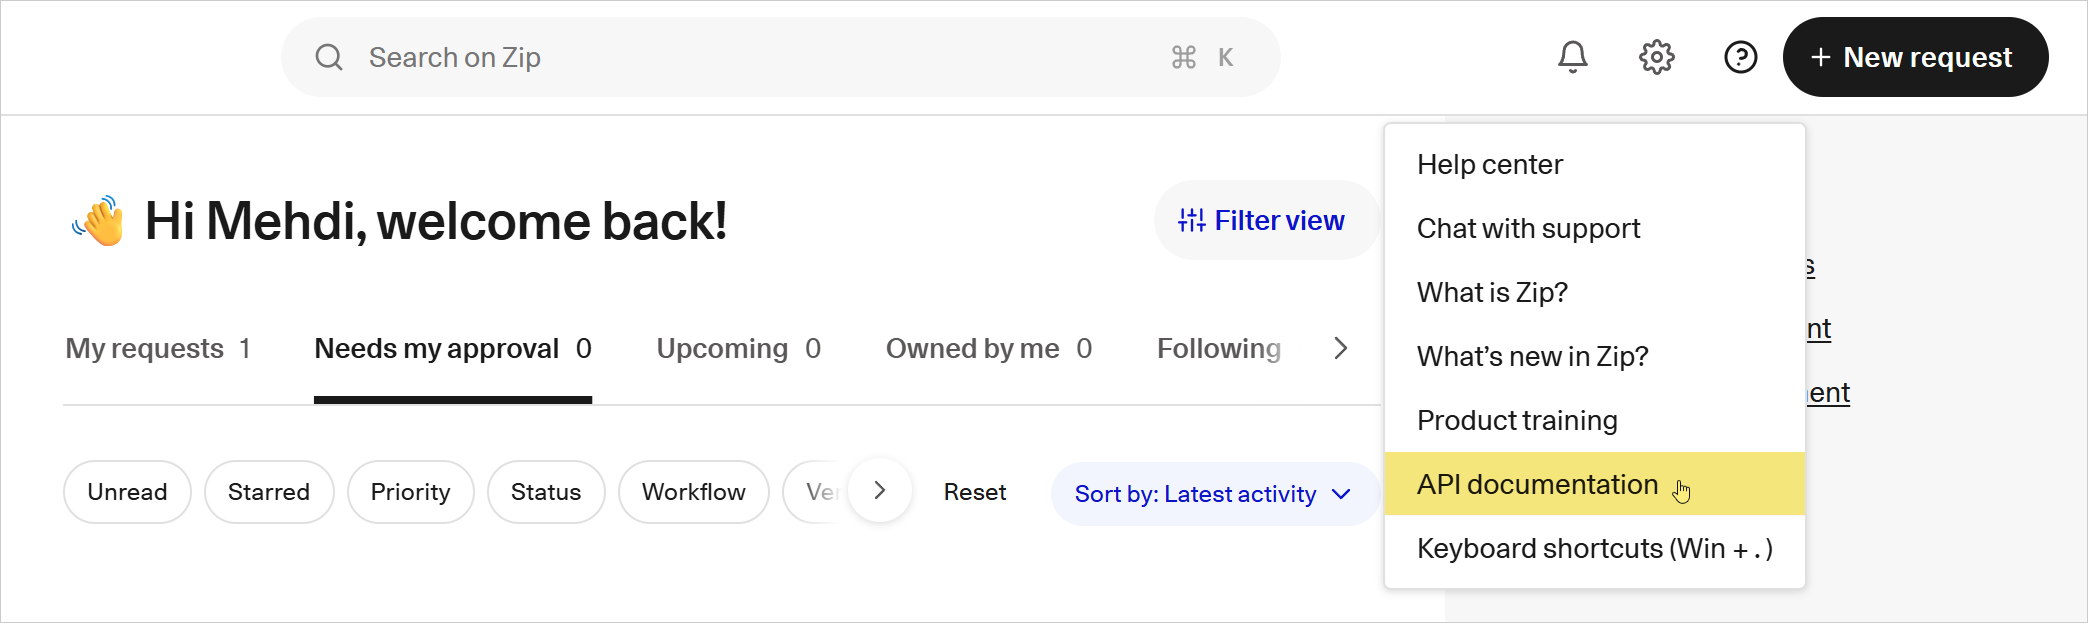
- In your Zip account, click the question mark icon in the top right corner, and choose API Documentation.
- Go to the documentation for any endpoint and make a note of its Base URL. The base URLs are in the
https://<environment>.ziphq.com/<endpoint_name>format.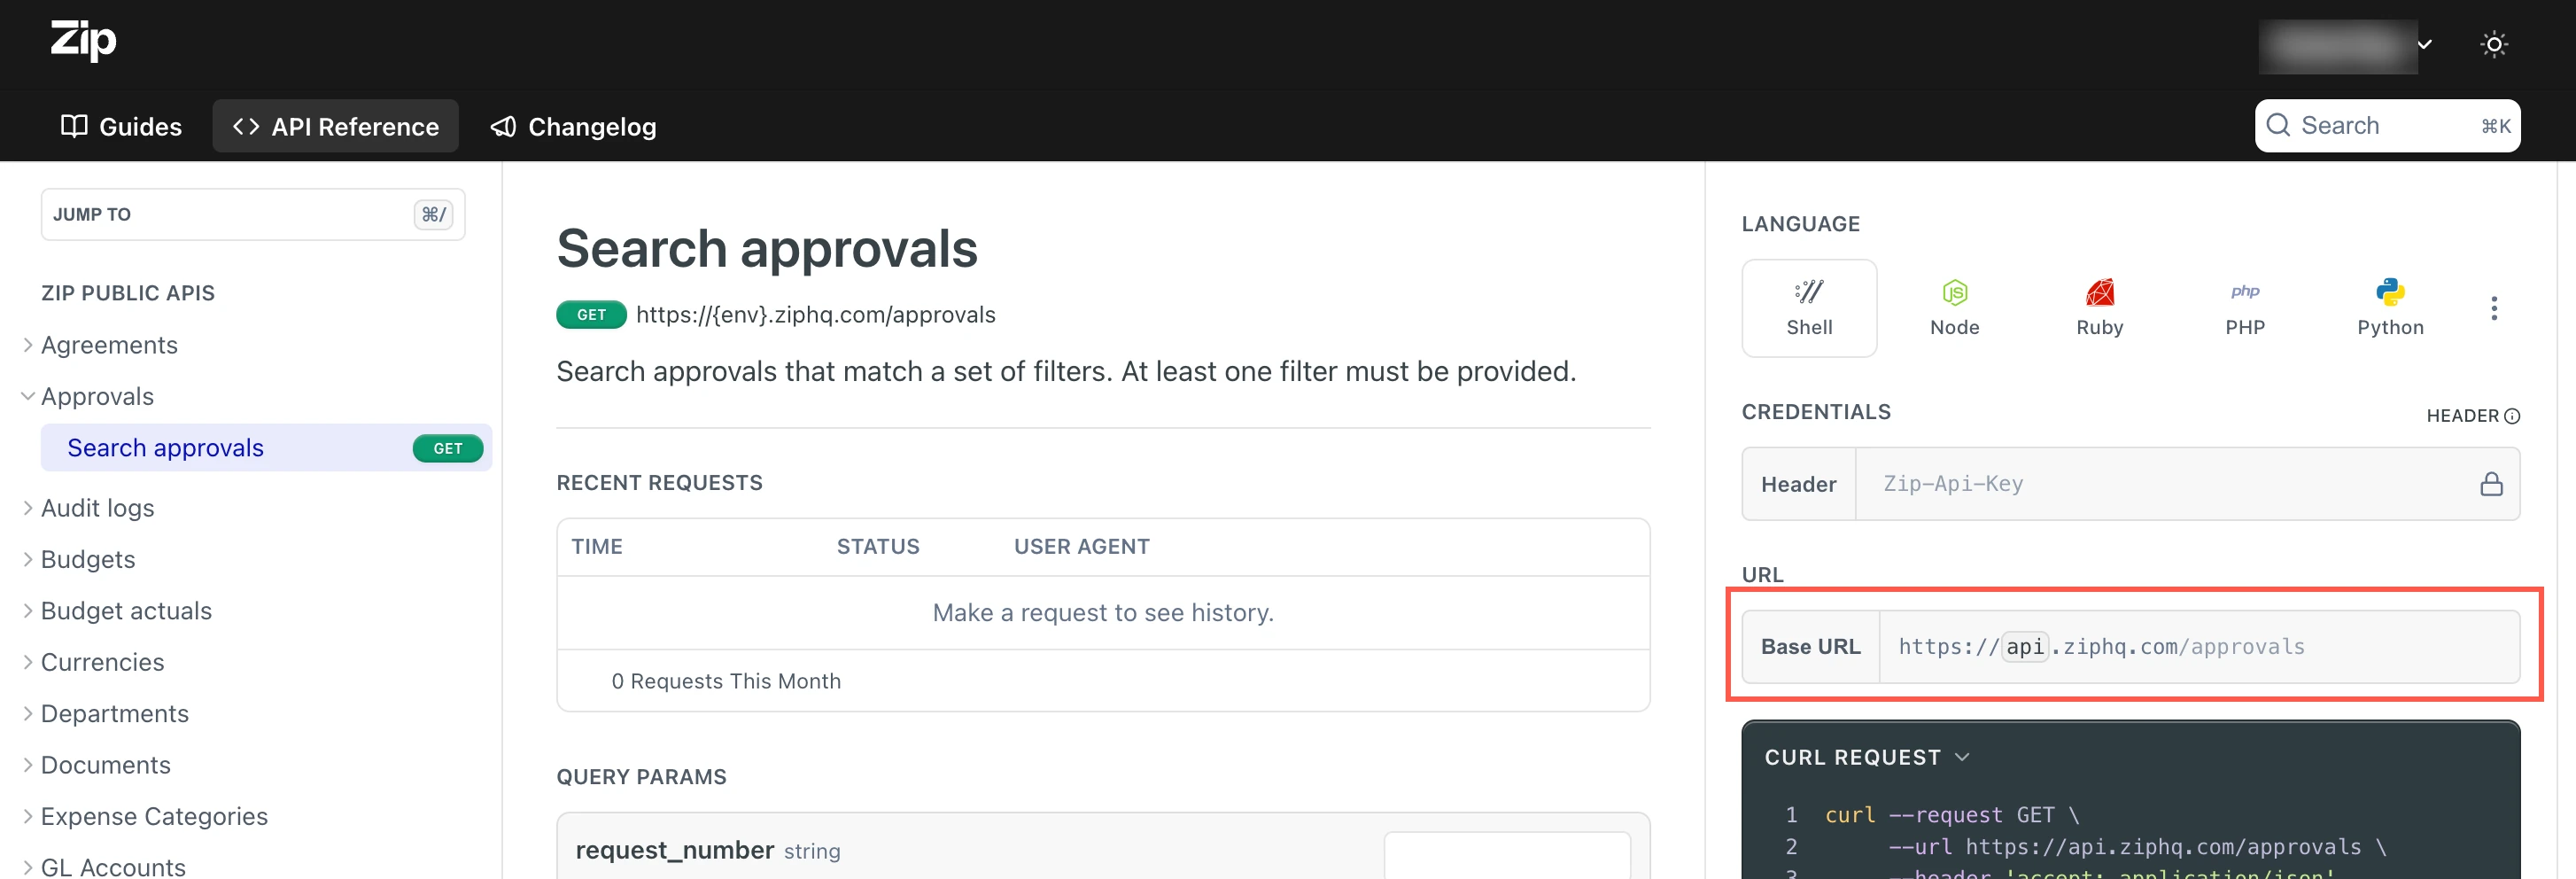
- Find your environment in the base URL and make a note of it. For example, if the base URL is
https://test.ziphq.com/approvals, then your environment istest.
Step 3: Complete Configuration in Matia
- Enter the API Key you generated and the Environment from your Zip account.
- Enter an Asset Name.
- (Optional) Enter a Description.
- (Optional) Assign Tags.
- Select an Owner.
- Verify that your Zip account is successfully connected by clicking on Test Connection.
- Click Connect.